During deploying Lync 2013 pilot pool for side-by-side migration from Lync 2010, I faced with strange problem on Step 1 (AD Preparation) in Wizard.
I have had installed Lync 2010 in my infrastructure, so I have a “half-prepared” schema for Lync 2013 Server. To update your current schema Lync uses four ldf scripts , which you can find in your Lync installation disk (<drive letter>:\support\schema).
ExternalSchema.ldf is is used for interoperability with Microsoft Exchange Server
ServerSchema.ldf is the primary Lync Server 2013 schema file
BackCompatSchema.ldf is used for interoperability with any components from prior releases
VersionSchema.ldf is used for version information of the prepared schema
Wizard runs them in the following order :
ExternalSchema.ldf
ServerSchema.ldf
BackCompatSchema.ldf
VersionSchema.ldf
To resolve my problem I decided to run scripts manually on my DC
*don’t forget to change DC= and type FQDN of your DC
Remote Desktop Services (RDS) has been improved in Server 2012. Now, RDS allows remote users to gain access to their corporate desktops or published applications running either as sessions on a Remote Desktop Session Host server (using web browser to access, for example) , or virtual machines on a Remote Desktop Virtualization Host server, by using a remoting protocol from various end point devices (unfortunately, Microsoft doesn’t provide any RD clients for Tablet OS=you have to use software from third-party companies). Server 2012 offers two deployment types : virtual-desktop deployment (=VDI) or session-based deployment (=Terminal Services).
Requirements
– Active Directory
– DHCP
– Hyper-V Server
– Sysprepped VHD with Windows 8 or Windows 7 SP1
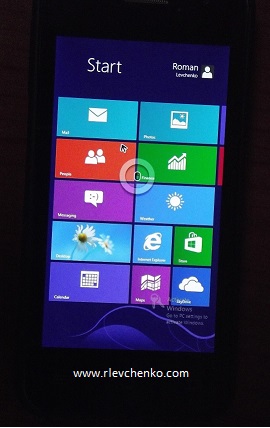
– Tablet PC or one PC with Windows OS for testing
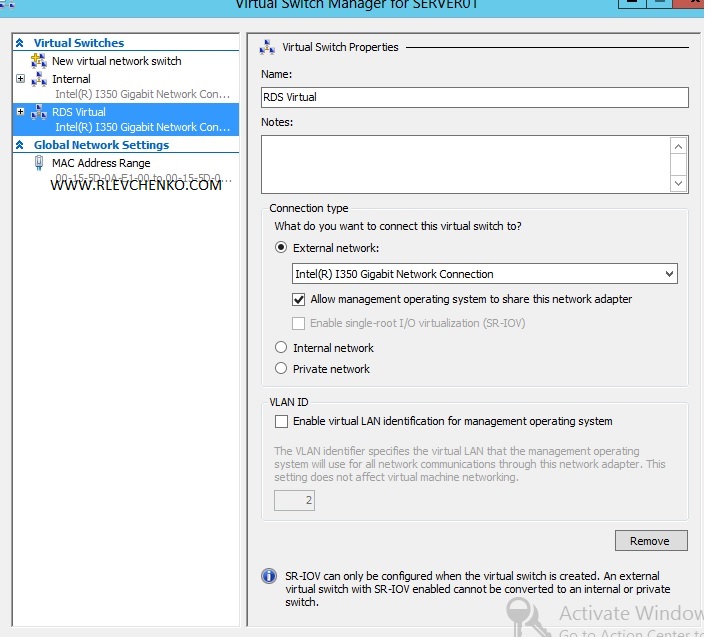
I’m happy man and I have cluster based on EMC VNX 5100 (FC) attached with two server systems (server01 and server02) joined to forum.local domain. The most important thing that you have to check is NETWORK. During our further deployment steps, RDS will create virtual switch in Hyper-V and randomly assign NIC as connection.This connection MUST have access to your DHCP-server.
Deployment steps
1) Go to Server Manager – Manage – Add Roles and Features
Click “Next”
2) Choose “Remote Desktop Services installation”
New Windows Server Installation Type
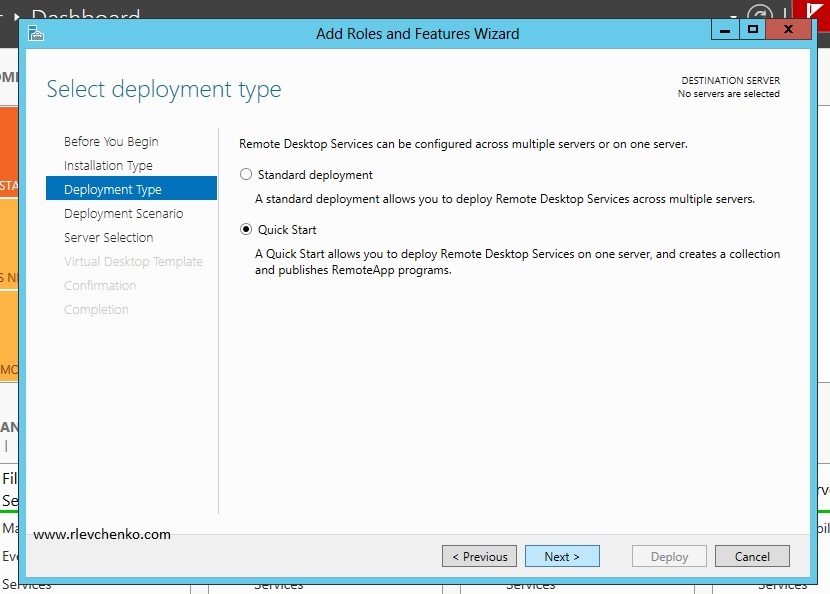
3) Our way is “Quick Start”. Standard deployment allows you to deploy the main RDS roles (Connection Broker, Gateway and etc) on separate servers and make high available RDS systems. Quick Start install necessary roles on one server (stand-alone deployment)
4) Select your server for VDI services. In my cases, it’s SERVER01.forum.local
5) Add your sysprepped VHD. I use VHD with sysprepped WIndows 8 Pro.
To make sysprepped VHD do the following:
Create VM
Mount ISO with Windows 8 or Windows 7 SP1
Install OS
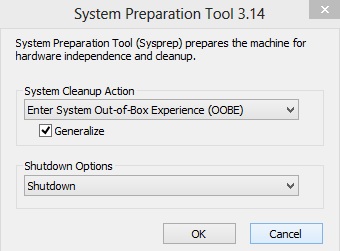
Run sysprep utility (WIN+R – sysprep)
Check “Generalize” , shutdown options must be “shutdown”
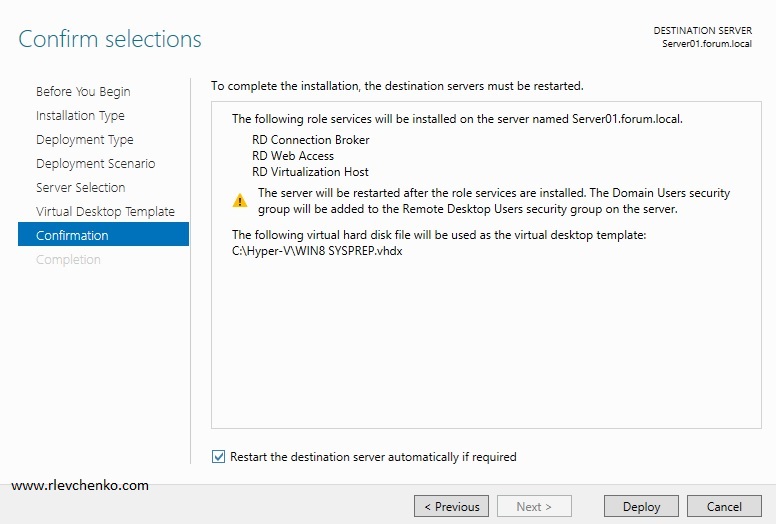
6) Check “Restart…” and click Deploy
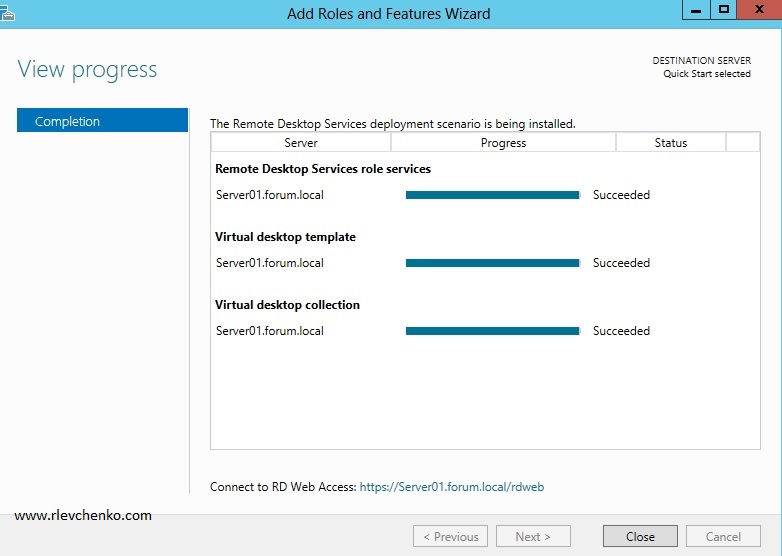
7) After system restart check that all services configures successful and click “Close”
Configuration steps
By default, wizard creates virtual desktop collection “QuickVMCollection..” . I won’t use this desktop collection ’cause I want to make another one with my settings (for example, I want to store all VDI desktops on cluster shared volume, enable user profile disks and etc).
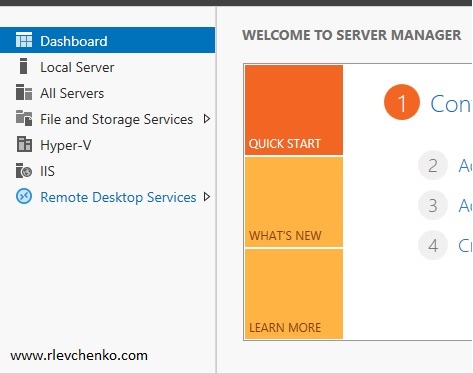
1) Go to Remote Desktop Services
2) Delete wizard-created collection
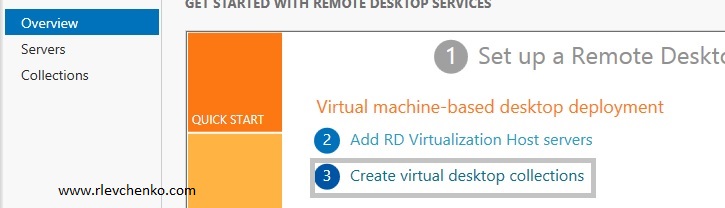
3) Click on “Create virtual..” to create new collection
4) Define your settings for the new collection
Type collection nameSelect the type of virtual collection. The main difference: pooled – VM “reset to factory” when user log off and users cannot have full rights on VM , private – users may have full rights on thier own VD Choose virtual desktop template. RDS will use it like an “example” to create VM for usersNextDefine time zone and OU to VDI VMs. In this OU RDS will create computer objects for every created VM (automatically joined to domain). Verify that server account has a necessary rights in this OU! (use delegation if it’s necessary)Define your group users that has rights for connecting to VDI VMsClick NEXTSpecify the path for the virtual desktops (vhd,configuration files)Specify path for user profile disks (if you want to deploy them) and max size for user’s VHDs. Profile disks is personal storage and doesn’t depend from VM on which user logged on. CREATEClose this wizard and go to “Collections” in RDS Right Click on the collection name – task status details and wait while 2 virtual desktops are creating
Note: you cannot create VDI collection from Gen2 VM (2012 R2) + if you are going to use VDI in production it is required to request and assign appropriate certificates for RDS roles (public <>gw, internally issued <> other roles)