Remote Desktop Services (RDS) has been improved in Server 2012. Now, RDS allows remote users to gain access to their corporate desktops or published applications running either as sessions on a Remote Desktop Session Host server (using web browser to access, for example) , or virtual machines on a Remote Desktop Virtualization Host server, by using a remoting protocol from various end point devices (unfortunately, Microsoft doesn’t provide any RD clients for Tablet OS=you have to use software from third-party companies). Server 2012 offers two deployment types : virtual-desktop deployment (=VDI) or session-based deployment (=Terminal Services).
Requirements
– Active Directory
– DHCP
– Hyper-V Server
– Sysprepped VHD with Windows 8 or Windows 7 SP1
– Tablet PC or one PC with Windows OS for testing
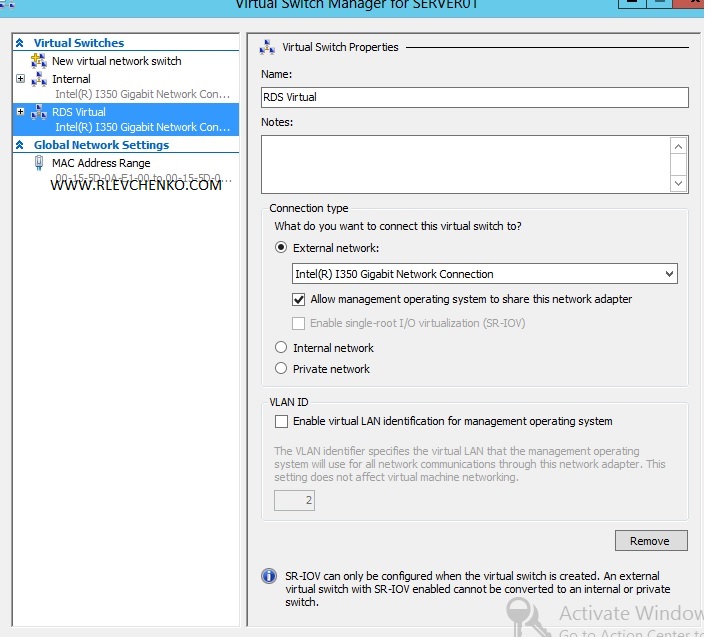
I’m happy man and I have cluster based on EMC VNX 5100 (FC) attached with two server systems (server01 and server02) joined to forum.local domain. The most important thing that you have to check is NETWORK. During our further deployment steps, RDS will create virtual switch in Hyper-V and randomly assign NIC as connection.This connection MUST have access to your DHCP-server.
Deployment steps
1) Go to Server Manager – Manage – Add Roles and Features

2) Choose “Remote Desktop Services installation”

3) Our way is “Quick Start”. Standard deployment allows you to deploy the main RDS roles (Connection Broker, Gateway and etc) on separate servers and make high available RDS systems. Quick Start install necessary roles on one server (stand-alone deployment)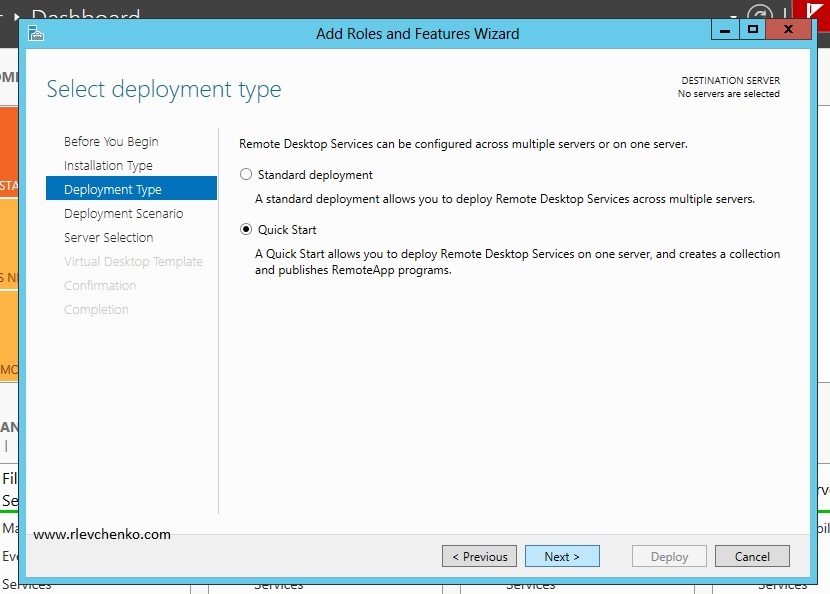
4) Select your server for VDI services. In my cases, it’s SERVER01.forum.local

5) Add your sysprepped VHD. I use VHD with sysprepped WIndows 8 Pro.
To make sysprepped VHD do the following:
- Create VM
- Mount ISO with Windows 8 or Windows 7 SP1
- Install OS
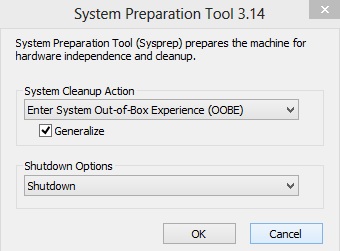
- Run sysprep utility (WIN+R – sysprep)
- Check “Generalize” , shutdown options must be “shutdown”

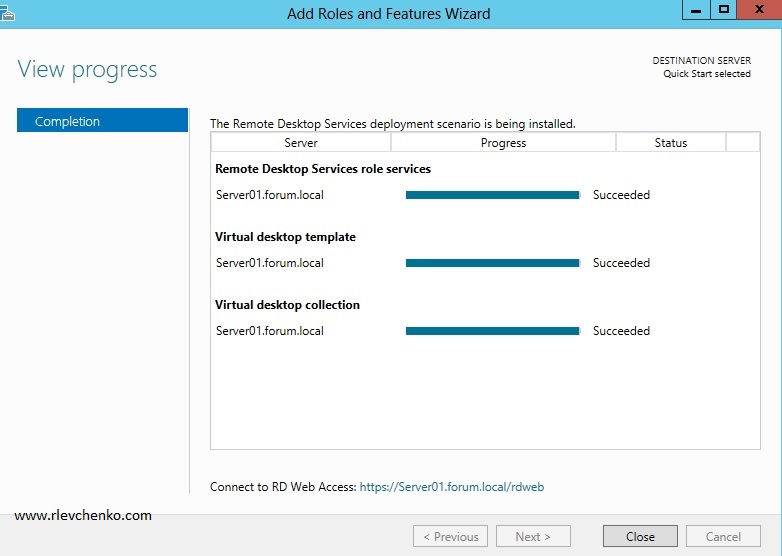
6) Check “Restart…” and click Deploy
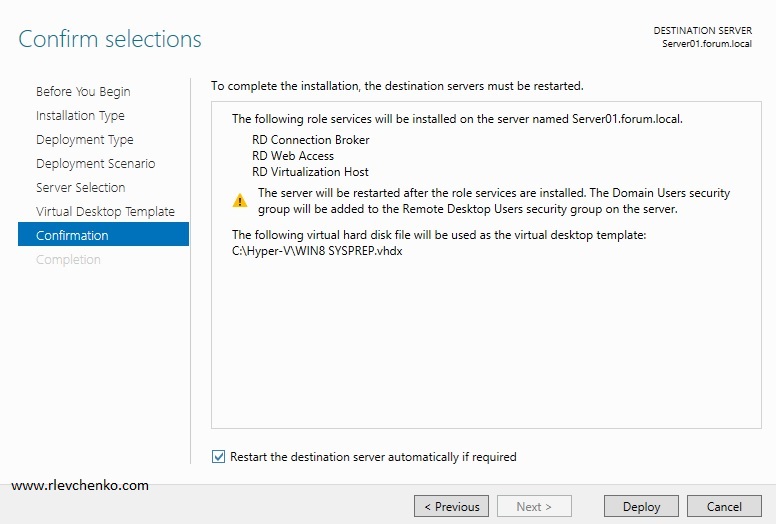
7) After system restart check that all services configures successful and click “Close”
Configuration steps
By default, wizard creates virtual desktop collection “QuickVMCollection..” . I won’t use this desktop collection ’cause I want to make another one with my settings (for example, I want to store all VDI desktops on cluster shared volume, enable user profile disks and etc).
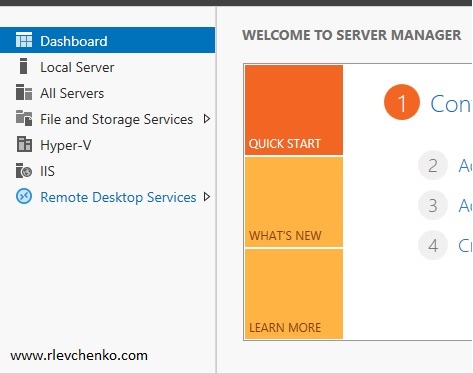
1) Go to Remote Desktop Services
2) Delete wizard-created collection

3) Click on “Create virtual..” to create new collection
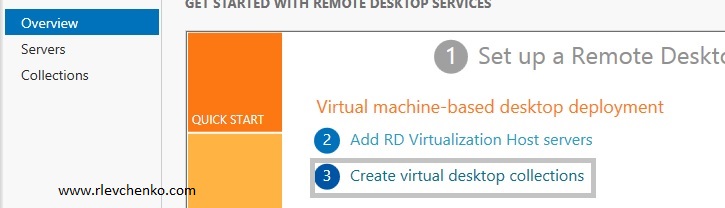
4) Define your settings for the new collection


TESTING
From client PC :
1) Open your browser and type https://FqdnOfRDserver/rdweb

2) Use your domain credentials and click on collection name (in my case, demoVDI) . Check that you can log in to VD.

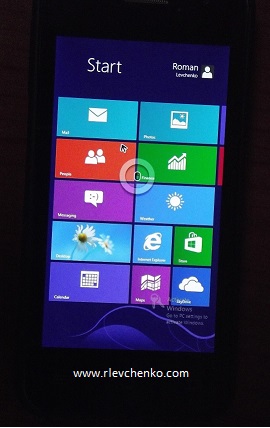
From Tablet:
*I used smartphone based on Android with PocketCloud Remote Desktop Pro installed
Basic recommendations:
1) Download and install RD client with RD Gateway support (for example, iTap mobile or PocketCloud Remote Desktop Pro)
2) Open your mobile browser
3) Type RD server gateway address (in my case, I use wireless access point with DHCP relay , so I type internal RD server address)
4) Download and open RDP file
P.S. Go ahead and publish your remote App 🙂
UPDATE: Microsoft has released own RDP clients for Android and iOS . More info: http://technet.microsoft.com/en-us/library/dn473009.aspx
Note: you cannot create VDI collection from Gen2 VM (2012 R2) + if you are going to use VDI in production it is required to request and assign appropriate certificates for RDS roles (public <>gw, internally issued <> other roles)

Simply wish to say your article is as astonishing. The clarity
for your submit is simply nice and that i could think you’re an expert on this subject.
Fine along with your permission allow me to clutch your RSS feed
to keep updated with approaching post. Thanks a million and please continue the rewarding work.